CLICK HERE FOR FREE BLOGGER TEMPLATES, LINK BUTTONS AND MORE! »
Showing posts with label Decorating. Show all posts

Sunday, August 22, 2010

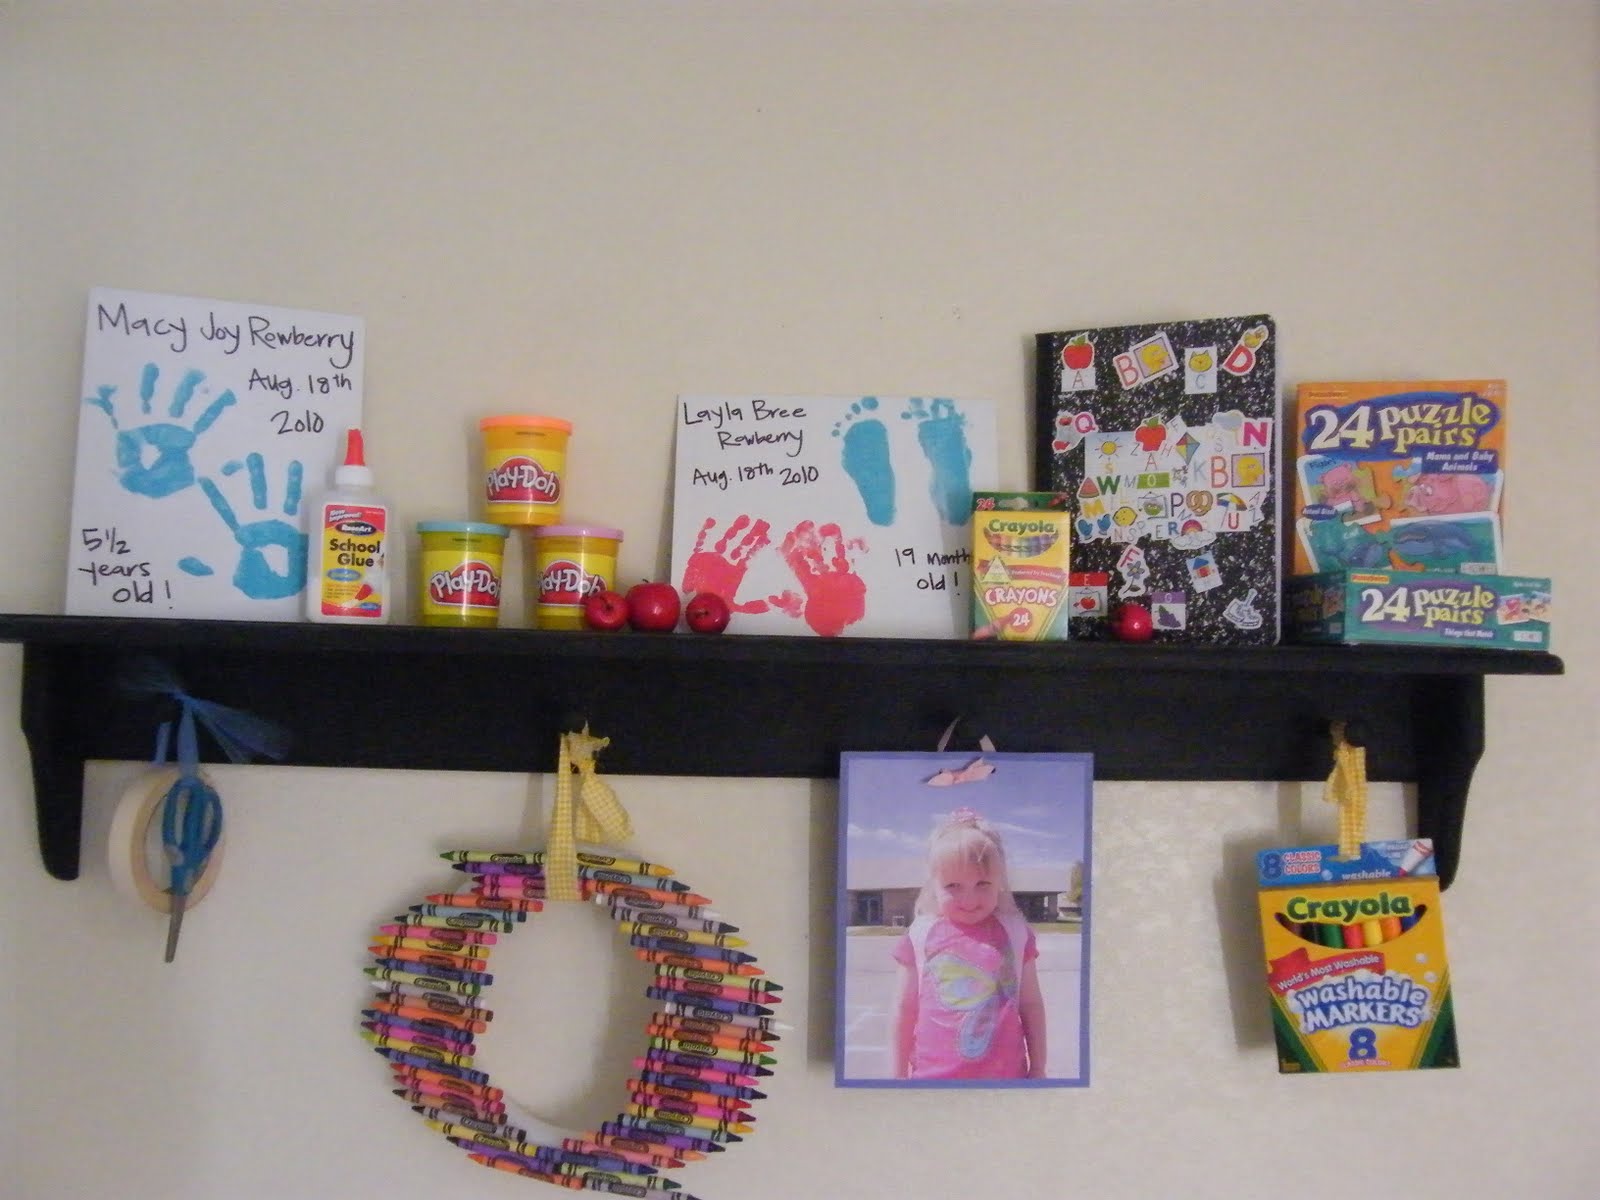
Back 2 School Decorations!


"The Shelf"
This is my shelf that I decorate for Holidays and Occasions. Last week I decorated it for school. I wanted to help get Doodle excited for school, and me too :) I just took several things from the activity closet and
decorated it.

The things I did make were:
The crayon wreath, Printed out Doodles picture from last years first day of school and earlier in the week the girls and I had made the Handprints on the canvas's and they were great to add up there!

It has gotten my Little Doodle super excited for school and I have caught her looking up there several times this week and then talking to me about her first day of Pre-K


Here's just a few close up pictures of things on the shelf!

Her School bag is ready by the door next to her new Twinkle Toe shoes and her clothes are picked out and next to her bed. Now this Mamma is going to get a fun suprise ready for her to wake up to in the morning. Keep checking back, because I will be posting it soon!
Have a Super Great monday everyone!

Thursday, July 29, 2010

1 hour Projects

Here's a few Projects I completed in Just I HOUR!

I bought this cute mirror at the thrift store for $1 coudnt decide weather I wanted to put it in my girls bedroom, or use for a place to hang my necklaces, So
 I didnt do either here's what I did:  
I took the hooks off and Modge podged cute scrapbook paper, added some ribbon on the sides and a few silk flowers! It looks pretty darn cute in our bedroom!
Peged Coat hanger into a Jewlery Hanger
I also bought this peged shelf at the thrift store for 50 cents or a dollar cant remember. Its one of those things that was in the closet waiting to be done!  

I pulled out all the pegs and Modged Podged cute scrapbooking paper. If you noticed in the picture below the paper does not match up( BUT DONT WORRY )  I was gettign low on the scraps, had just enough to finish this project WHEW!!!!!!!
Here's the finished project! I tied black ribbon around where the peices didnt match up and hot glued it on the back and also hot glued silk flowers on!
Mutch better to have all those necklaces hanging and Organized! And now my little Doodle Bugs cant play with them in my Jewlery box he he :)

And I wont forget to mention this " R" for my First and Last name.
That reminds me of when we got married I told everyone I was getting a little " R AND R ", but that was soon over after the Honeymoon :)

 I picked this letter up at a garage sale back in the spring for 25 cents. It was still in the plastic. Its actually one of those plastic letter you can use on your mailbox, house etc. But I modged podged it and it worked. Added some ribbon and it looks mighty fine up there on my shelf!
Saturday, June 19, 2010

Fathers day and latest craft!


Here's one of the Gifts that we gave my Husband for Fathers day! I wanted to do this, but needed help having someone take the pic. so I got together with a friend and her kids and they made one for their dad also! I sent it to one hour photo at walmart and then we put it in a nice blue frame straight from the good ole $1 store!  , But I REALLY WANTED to give him this one below, but because of the length and size it would not print correctly. I love it because it is so BRIGHT! ( I just used crayola washable markers)


Just wanted to show off the New Hair Do! Iam lovin the color and cut!

Here's a project I recently completed.
I found this frame at the thrift store THE POKE AND PEEK , yep thats the name, its a great little thrift store here in town. My daughter and her friends call it the POKE AND SNIFF!!

Anyways, I took apart the frame and Modge Podged some scrapbooking paper on the mat, I let it dry and then put it back together. The I took a few different flowers and put the petals together to make a bigger nicer one. Then I hot glued the flower on and tied some ribbon on the hook and Hung it. Iam really pleased with how well it turned out!

Sunday, May 2, 2010

Bright and Simple Decorations!


Here's a simple decorations that I made to brighten up my Kitchen! I have vaulted ceilings in here and the space above these windows has been driving me crazy and I have been trying to think of something simple, but bright to put up there! Here's just one picture, but the other side of the wall mirrors the same thing. Great addition to our little nook in back of the kitchen! p.s. Try not to let the UGLY wallpaper in the background distract you, we are Renting :(

These are the things I used

1.6 Artits canvas boards
2. Cute Fabric
3. Cute Ribbon
4. Hot glue gun

I measured the fabric and cut it to cover each canvas, leaving extra to glue the fabric on the back.
After glueing the fabric I made cute little hangers for each one out of cute ribbon and glued them onto the canvas on the back! Then I decided a couple of them needed some ribbon on the front to add a little extra!Iam thinking If i find the right kindof large flower I may glue them to the center of the Green ones!  

It was my kindof project: simple, cute , inexpensive!  

Tuesday, April 27, 2010

Teacher Appreciation Gift!


I wanted to make a small teacher appreciation gift for Doodles Pre-school teachers. I could go on and on about how thankful Iam for these teachers,but words cannot explain!
I wanted to give them something , but I didnt want to run into town to have to buy stuff, so I just used what I had at home!

Heres what I did:


2 empty cans

I put about 1/2 in. of bark in the bottom to allow drainage for the plants!


I planted the Pansie plants with Miracle Grow potting soil , added the label to the pot so they knew what type of plant it was and how to care for it, then I cut strips of paper that were wide enough to wrap all away around the can. I sprayed the paper with spray adhesive to stick to the can.

 Umm.Can i say Iam not sure if I can ever get used to using this sticky stuff, Plus it would Not stop spraying when I let go of the sprayer, So i had to smack it against the side walk to get it to stop. Are ya all laughing , Cause I sure was!
Here's what the can looked like covered!


The finished product.
I added a small strip of paper around the bottom to add more color, added some cute scrapbooking bug stickers, and then tied a note with Raffia saying " Happy Spring, Thanks for all you do! "
Doodle had fun giving it to her teachers!

Sunday, April 25, 2010

Cute Wedding Decorations!

I Just wanted to share some really cute, fun and creative ideas from my Brothers wedding reception a couple weeks ago!
 Table Centerpeices
How cute is that!! I loved it when I saw it!


A Very cute and simple cake! I was talking with the lady who had made it and she worked so hard on it and said it was her first time using fondant, I think she did a Great job!

My Brother had this made to give his bride as a wedding gift!
 I LOVED IT when I saw it. Its totally his style, meaning the frame with the barb wire and the barn wood. I love the words that he chose to use from one of the songs that
Alabama sings-Treat her right, : "The maker said take her and Love her Forever"

Loved this Picture gift someone made them!

The Brides mom made this blanket out of Scarves, how Clever and simple!
I think this would be fun to make as a picnic blanket or campling quilts!


The Brides Mom also made this quilt. She took all of my new sis. in laws sports shirts for the teams that she had played on and cut them up and used the most important parts and peiced them together to make a quilt!

Another fun Idea, Give them a cake made out of towls. we have all seen the diaper cakes, but i havent seen the towel cakes in person, it was really cute!